Your import, fully rigged. If you find something wrong and have to reimport, you will have to repeat this process. Prior Warnings:
First off, if you're applying this to a material that already is specially built (like Specular, ENV, etc), this will DESTROY the previous features. There is a way to do that, it won't be covered here.
Two, this can be done with Previous versions of BrawlBox, but don't cross files that were built with different versions. Try to import materials from .67 into .71 and the program will crash. DON'T CROSS THE STREAMS.
Step 1: Extract the Material/Shader
This step will stay the same no matter what you're doing.
First, we want to find a texture in a vanilla Brawl file that uses Transparency.
If we open up BrawlBox, and in turn open up our FitSZerosuit00.pac, we'll be able to find textures under the red TextureData[0] node.
Here, we have Fit_Nsam_Atama. That's pretty transparent. Let's use that.
So, now that we've found a texture that's transparent, let's find the Material that uses that texture!
If we click on the little plus on the MDL0 node in our ModelData[0] node, we can look at the folder representation of the individual parts of our model. We'll want to look inside Materials. Because we're looking for a Material. Remember?
In specific, we're looking for the material that's holding a reference to our Texture!
Like this guy.
Once we've found this guy, we need to find what Shader he's using.
See, texture attributes ingame rely on a combination of Materials and Shaders to achieve how they look, whether they be shiny, glowing, reflective, matte, scratched, etc.
So, in the right window, scroll until you find what Shader your material is using.
When you scroll, make sure you have the Material highlighted, and not its Texture Reference. They contain different information, and you won't find Shader details there.
In the MDL0's folder section, there should be a Shader folder as well. Look for the Shader that your Material was using.
And now that you've found both, export both the Material and the Shader to somewhere you'll remember.
And now that we have this info, we can move on to step two. You can close the Zero Suit file now.
Step 2: Apply the Material/Shader
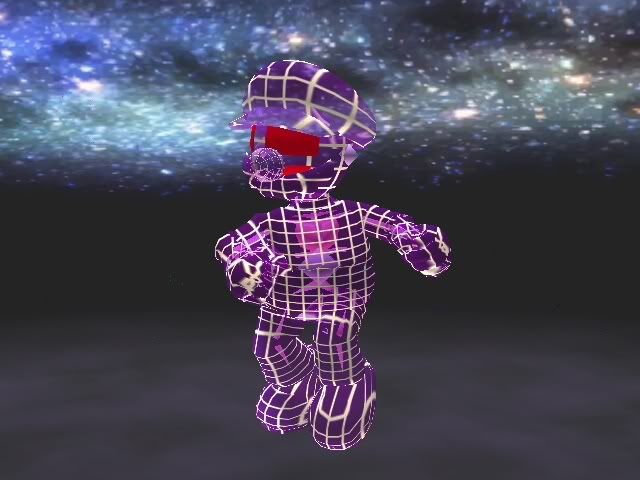
So, open up your imported model. Nice, rigged, all that jazz. Just needs the final touches.
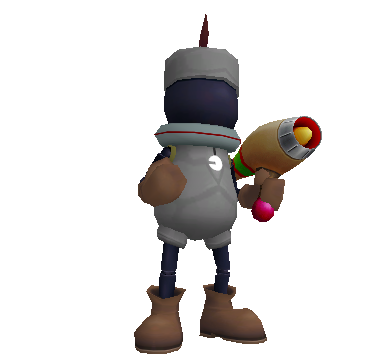
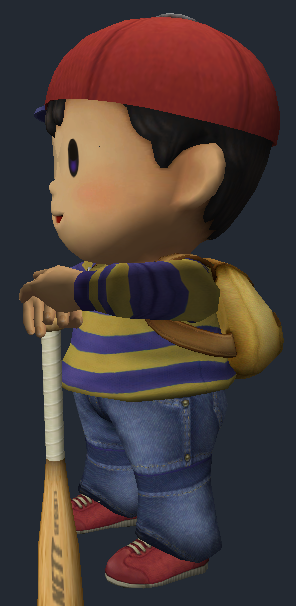
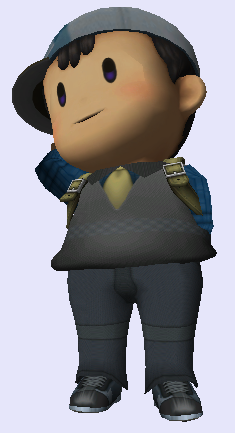
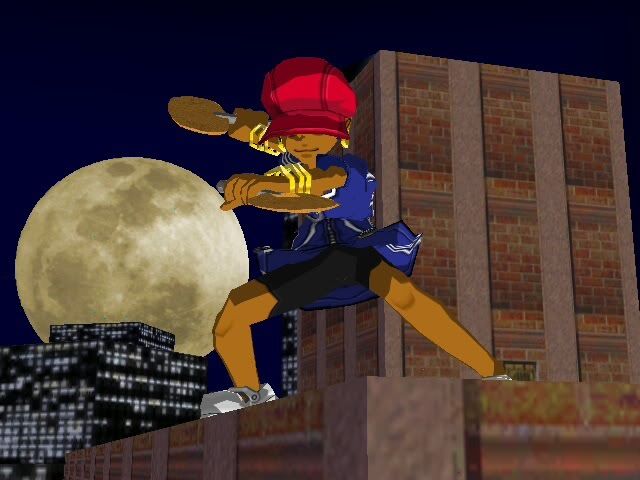
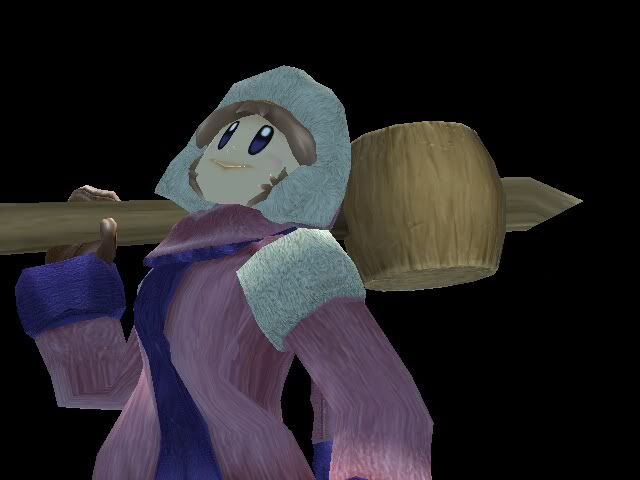
I'm just going to apply this process to Popo, but you can do it to whomever.
AS A NOTE:
Your texture must be compressed in such a way that it allows Transparency. Use CMPR for Extreme Compression, RBG5A3 for High Detail, and RGB5A8 for no Compression whatsoever.
First, find the material that uses the texture you want transparent:
Copy down its texture reference.
Next, use the replace function on it, and replace it with the Material you exported earlier. (You DO remember where it is, right?)
Next, once you replace it, you should see that the material name stayed the same, but the texture references got destroyed. Put them back.
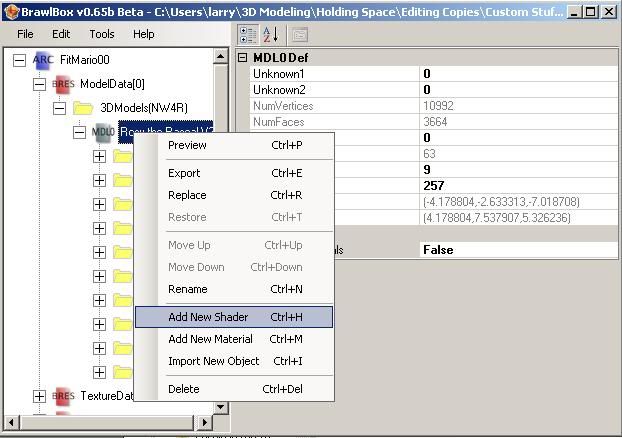
Next, right-click on your MDL0 node and Create a new Shader
Replace this Shader with the Shader you exported earlier.
And then, last but not least, set your material's Shader to the new Shader you just created!
And poof. Your texture should now be transparent ingame! Probably.
Post any questions you have and I'll try to answer them if I can!
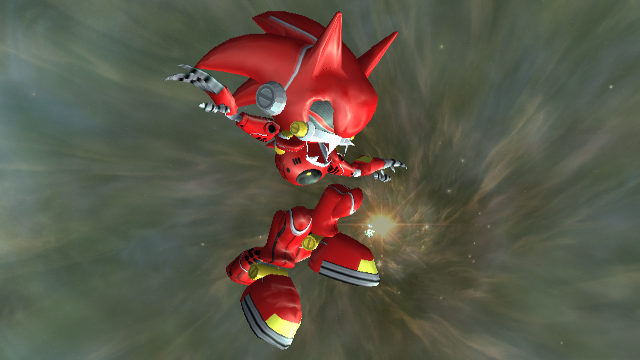
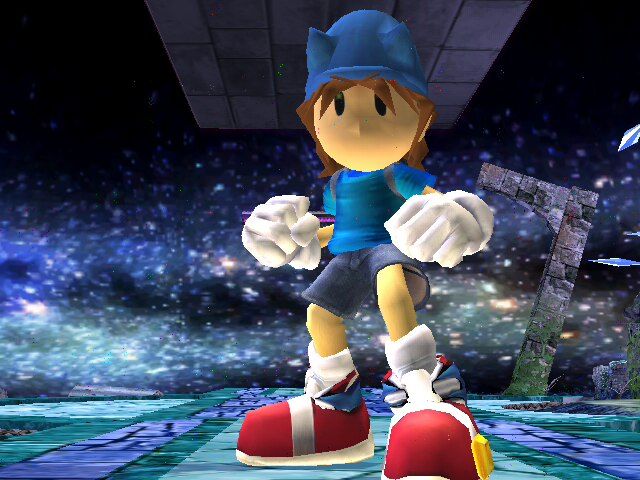
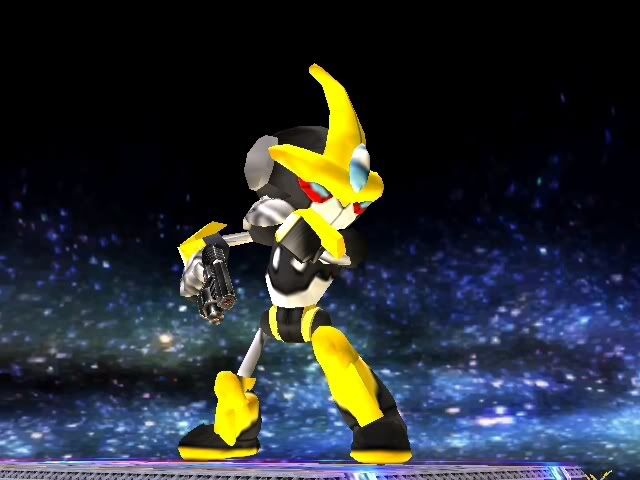
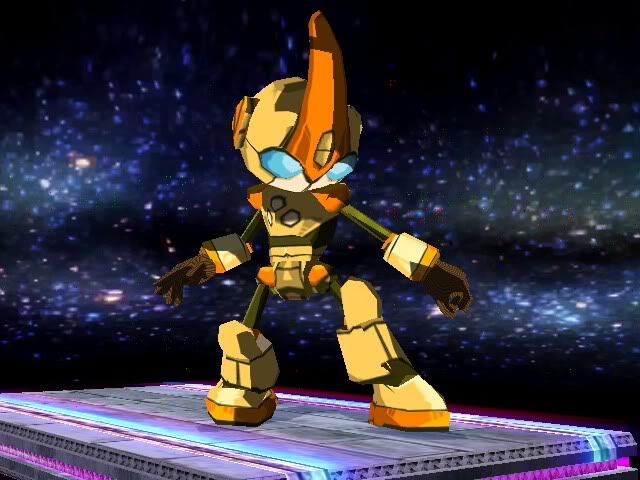
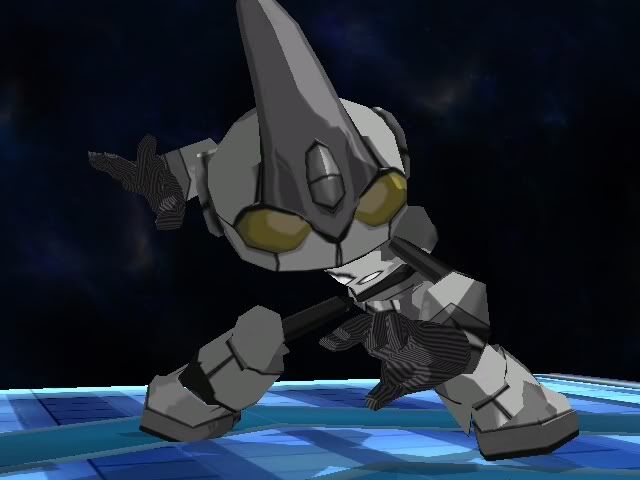
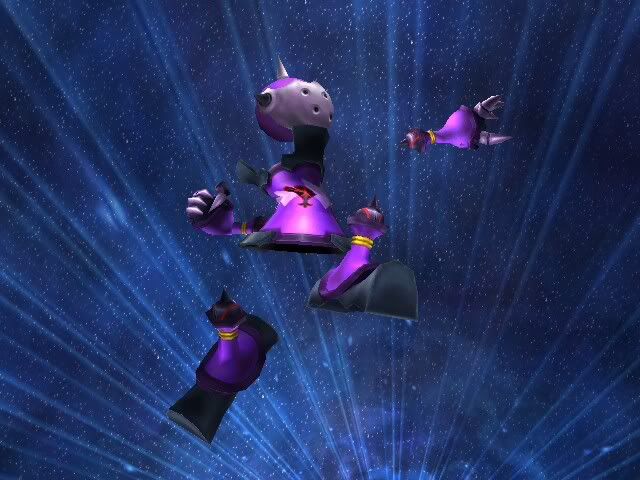
So, you might've noticed that poor Primid beta moveset sitting in my vault. Maybe? Possibly? Well, beta no more. I'm finishing it. I've been doing animations and coding more or less secretly with it the past few weeks, so I'm pretty far.
This is more or less a thing to get my feet wet. Creating quality animations and the like. You can see the moveset below. It's using KJP's moveset starter guide. (You'll have to pardon my horrible formatting skills. I'll see what I can do to clean that up when I have time...)
It was originally over Diddy, but my animations blew that FitMotion out the water. Diddy's was 1300 kb or so, and I had pushed it up to around 3000 kb. So I ported it to Bowser. Bowser's FitMotion STARTS at around 3000 kb, haha.
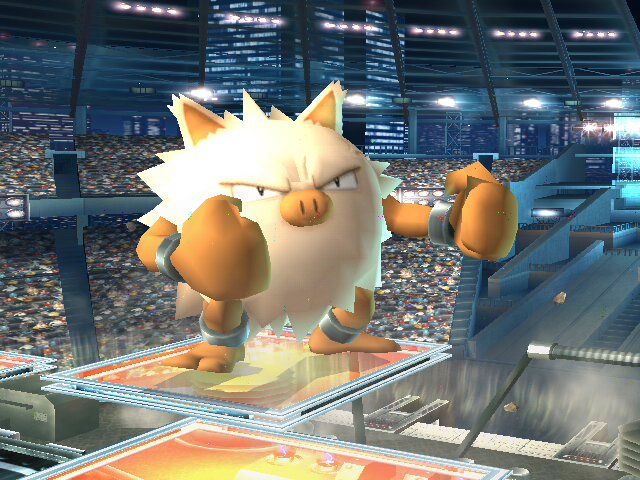
So yeah. It's over BOWSER:
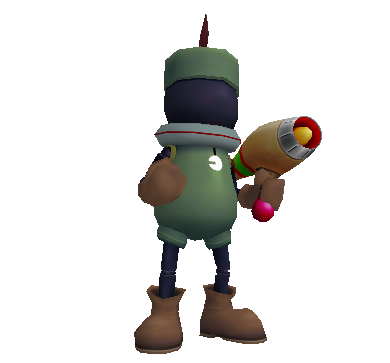
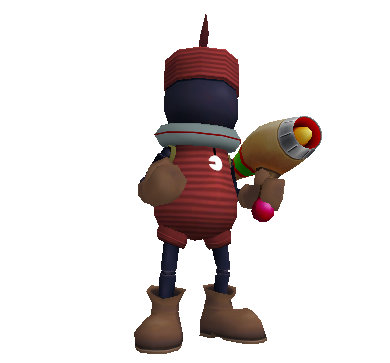
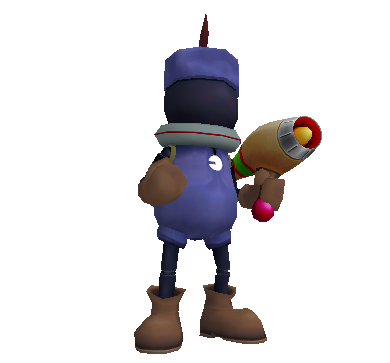
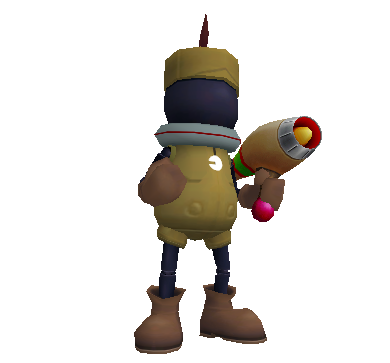
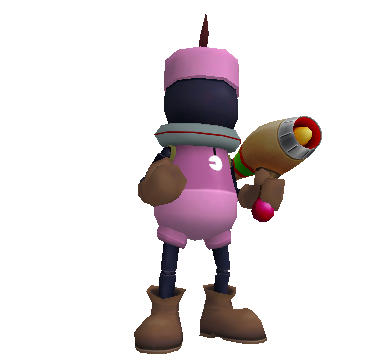
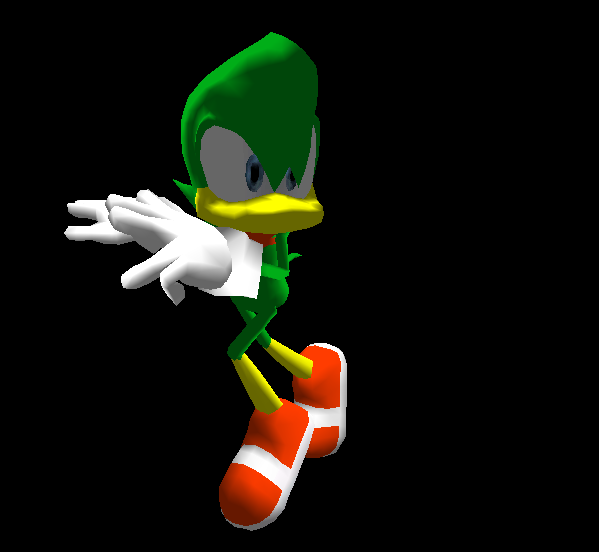
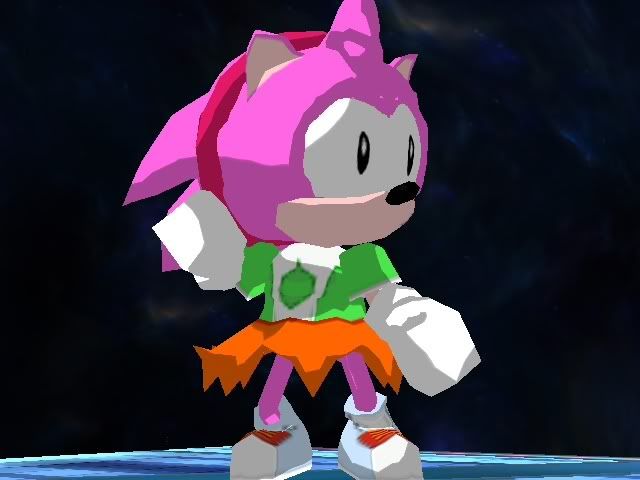
Recolors:
PRIMID Moveset.
Command: A [Animation Complete] Description: A simple punch. Power: Weak Direction: Stationary (For combo)
Command: A-A [Animation Complete] Description: A boxer's hook to the stomach. Power: Weak Direction: Stationary (For combo)
Command: F-Tilt [Animation Complete] Description: A 360 spin kick. Power: Medium Strength. Direction: Outward
Command: F-TiltU [Animation Complete] Description: Primid does a strong uppercut. Power: Medium Strength. Direction: Upward
Command: F-TiltD [Animation Complete] Description: Primid does a low leg kick. Power: Weak Medium Direction: Down/Out (Very small Tripping chance)
Command: F-Smash [Animation Complete] Description: Primid lights up into flames, causing a heat cell (hitbox) to appear directly in front of him (close-range) Power: Killing potential Direction: Sakurai Angle
Command: D-Tilt [Animation Complete] Description: Primid plants his arms into the ground and launches his upper body. He lands a headbutt then uses his arms to rebound back like a rubber band. Power: Weak Medium Direction: Out
Command: D-Smash [Animation Complete] Description: Primid does an overhead->downward punch. Power: Kill potential Direction: Sakurai Angle
Command: U-Tilt [Animation Complete] Description: Primid grabs the ground with his right hand and begins to pull on it, like a rubber band. At the height of tension, Primid lets go, using the snapback of his arm to attack. (Overall this is a very quick move) Power: Medium Strength Direction: Upward
Command: U-Smash [Animation Incomplete] Description: Primid loosens the slack in his arms and allows them to hang on the ground. He then pulls the slack back in and throws a double-fisted thrust upward.
Since the D-Smash is pretty much a more useful F-Smash, this will double as the U-Smash and D-Smash Power: Killing Potential Direction: Upward
Command: Air-N [Animation Complete] Description: Primid oulls in his extremities and elastically explodes them outward. Power: Weak Direction: Outward
Command: Air-U [Animation Complete] Description: Primid forms an overhead forward claw-swipe Power: Medium Direction: Out
Command: Air-F [Animation Incomplete] Description: Primid whips out his gun and lets loose a spark in front of him. Pushes him back, for spacing. Power: Medium Direction: Out
Command: Air-D [Animation Complete] Description: Primid pulls off a Meteor Stomp Power: Killing potential Direction: Down
Command: Air-B [Animation Complete] Description: Primid whips out his gun and swings overhead-down behind him. Power: Medium Direction: Down-back
Command: Special-N [Animation Complete] Description: Primid spews flames from his gun. Power: Weak-ish Direction: Out (projectile) NOTE: Yeah, this one's simply just Bowser's coding. At least until I (Or you) can think of something better.
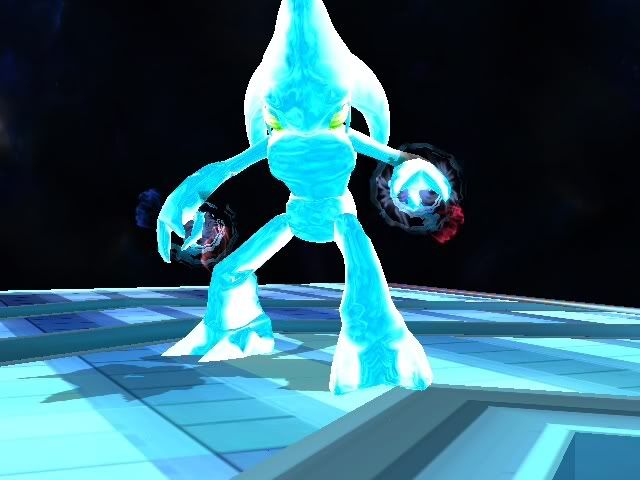
Command: Special-D [Animation Incomplete] Description: Primid does a counter-less counter by turning to metal and avoiding damage. (bad lag afterward, use carefully) Power: None (counter) Direction: None (counter)
Command: Special-U [Animation Incomplete] Description: Primid performs a Spear-Jump, which is a simple upward headbut rush. Power: Medium Strong Direction: Up
Command: Special-F Description: [unknown]
Power: Direction: Note: I got nothing. Halp plox?
Command: Dash Description: Primid trips and slides on his face. Power: Low Direction: Out
Command: Final Smash Description: [unknown]
Power: Direction:
As you can see. It's not finished. Ideas? I'll see if I can get a gameplay video up later.
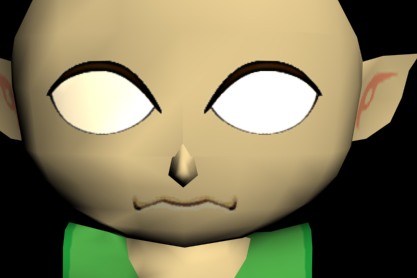
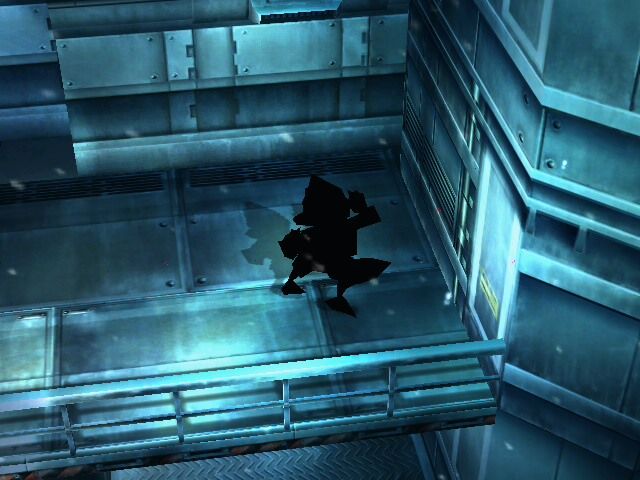
So, if you came here, you’re probably trying to fix up a model that has a face that’s split up into parts. Like the Tales series models. Or Toon Link.
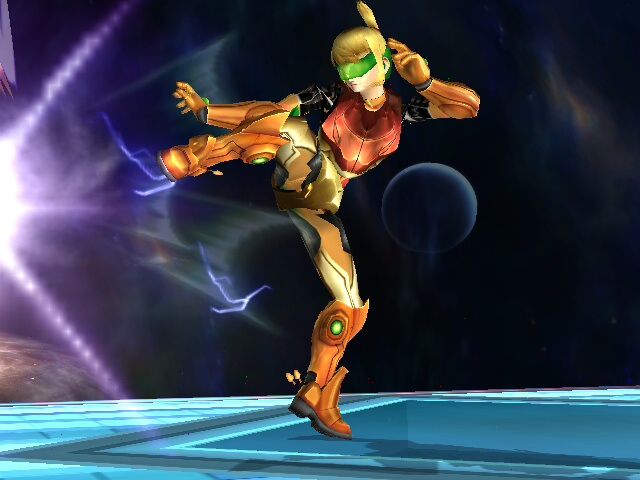
Odds are, your model most likely looks like this:
We don’t want that.
Before we start, I need to tell you that this guide is pretty rushed. You’ll need to know how to get around 3DS Max at least a little. Just saying.
So, first, get your model into 3DS Max some way or another. Then go to the models that are at odds with each other and select them. All of them. Eyes, mouth, face, anything that’s clashing. Then right-click and select “Hide Unselected” That will hide (but not delete) anything you don’t need.
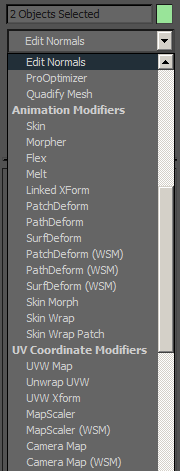
Once you’ve selected them all, go to the right pull-down bar and select Edit Normals (Or if you’re a shortcut freak like me, just press “E” 4 times after selecting the pulldown bar.)
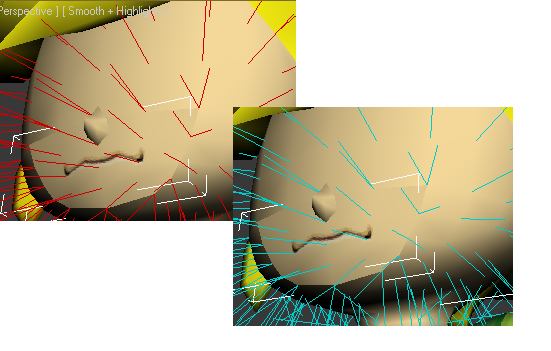
Once you’ve selected that, your model should look covered in red pins. That’s because you’ve got all of the normals selected. Click on the Edit Normals bar on the right side a few times until they all change to something blue-green-not red-ish. You also might want to change the "Display length" to something shorter so the normals are easier to choose.
After that, you’ll need to go to the spots that clash. Odds are, the modeler ripped the faces right out from that spot, so all the vertices will be in the same spot, and therefore the normals will be too.
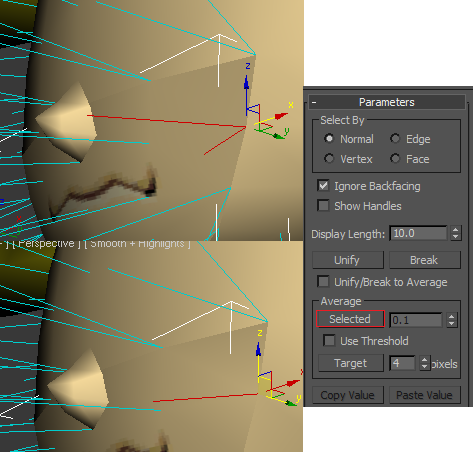
In the spots where the normals clash, there will be a lot of lines sticking out all leading to one point. Select all the ones that lead to that one point. Then go to your right panel, and under the average option you should select “Selected”
This will make all of those lines look like one line, which means they all take light from the same direction and will transition smoothly. REMEMBER: Only select the normals that lead to the same vertex. Trying to do this en masse on multiple normals with multiple vertices will cause your model to behave like reflective tape.Only choose groups or normals that lead to one vertex before you average.
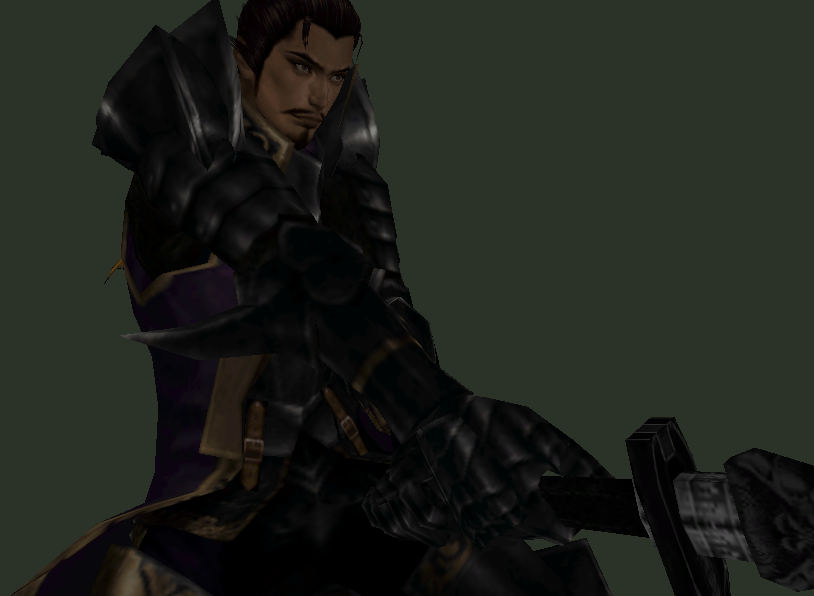
Now, here’s the part where your judgment comes in. Do that for every spot where the Normals are strange. After that, you should get a result close to this.
I know this was rushed, but that’s pretty much it.
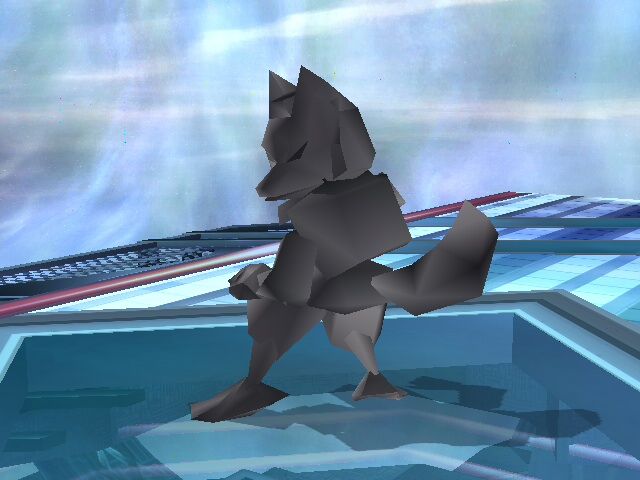
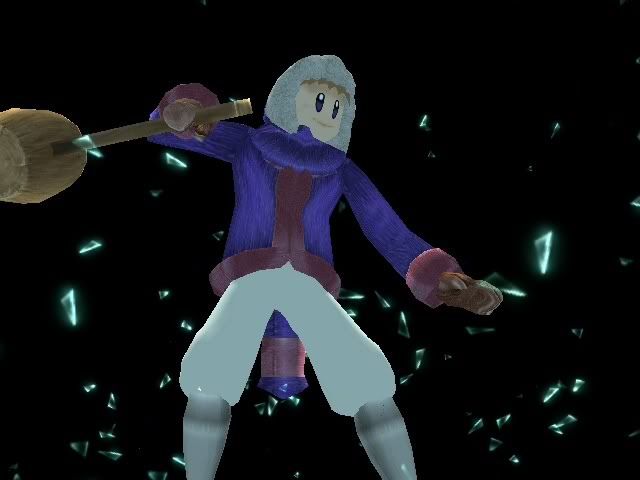
So, if you came here, you’ll wanting to be making that Wind Waker style cellshade for your import/vertex, right? Well, you came to the right place. If you can do metal, you can most certainly do this.
It’s a texture, a shader, and a material, all from the Wind Waker Tetra trophy. We’re going to be putting this on your character.
ALSO, one last note. Don’t do this until your rig is complete. If you re-import, you’ll have to do it again. Part 1: Prep the File
First, import the shadingB texture from the download into your file. It can go right next to all of the rest.
Then, go into your FitCharXX.pac and expand your MDL0. Then open the files Materials and Shaders. If you’re working with an official character you’re going to be editing the materials all the way up to the ones that end in _ExtMtl. Don’t mess with those that end in _ExtMtl though, because those control what the metal box calls. If you’re working with an import, you’ll simply be editing all of your materials (and there’s an awesome tutorial by EternalYoshi and Pikazz for adding metal to your character found here:http://forums.kc-mm.com/index.php?topic=36191.0)
NOTE: BB Also has an Auto-Metal adding feature.
Right-click on your MDL0, and click on “Add new shader”. If you have an import, it will most likely end up as Shader1. On official .pacs, it might end up as high as (or higher than) shader7.
Right click on the shader you just made, and click replace. Find the trophy package you downloaded and select “shader0” Now that we’ve replaced that shader, that’s all we’ll be doing in the shader folder. You can close it now.
Part 2: Edit the Materials
Now go to your materials folder. Inside, there are a bunch of materials with plusses next to them. Don’t expand the materials yet. Instead, click on the first one, and to your right scroll all the way down. Under the MISC bar, you’ll find the shader that material is linked to.
Change it to the new shader you created. Do that for all the materials that don’t end in _ExtMtl. (Or, if you know what you’re doing, just do this for all the materials you want to be cellshaded.)
1: Now, go back to the first material, and expand it. Look inside at the sub-material on the first row. On the right, it should tell you what texture that material is using.
Take note of this.
2: Now click on the material (not the sub-material) and right-click and replace. Replace this file with “tetra_all” in the trophy material pack.
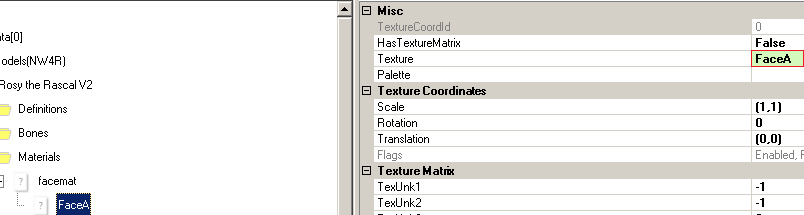
3: Go to the first sub-material of the material you just replaced, go to the texture reference under misc (as shown in the picture above), and select the texture that was used originally.
4: Then go to the second sub material go to the texture reference box (same spot as above) and type in “shadingB” exactly as shown. (If you’ve named the shadingB texture anything else, type that in instead.)
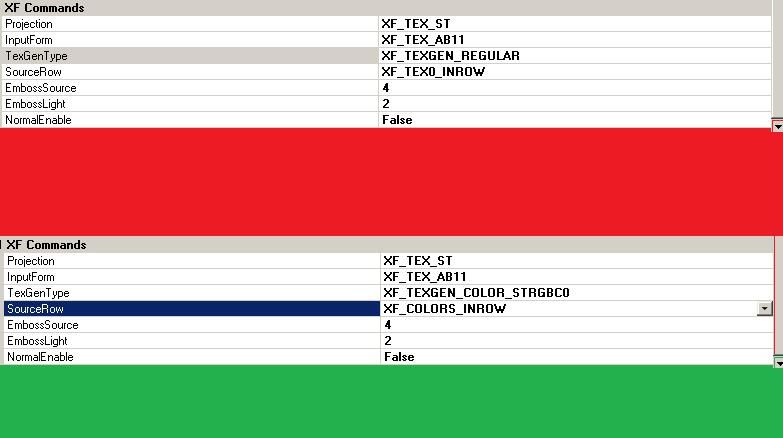
Edit(3-11-13): Step 5 is no longer necessary.
5: Next, scroll down in that submaterial until you find the XF Commands. Change TexGenType to XF_TEXGEN_COLOR_STRGBC0 Change SourceRow to XF_COLORS_INROW
Now, that material is done.
For the rest of the materials (all the way up to the ones that end in _ExtMtl, which we aren’t going to mess with.), do this:
1: Now, go back to the next material, and expand it. Look inside at the sub-material on the first row. On the right, it should tell you what texture that material is using.
Take note of this.
2: Now click on the material (not the sub-material) and right-click and replace. Replace this file with “tetra_all” in the trophy material pack.
3: Go to the first sub-material of the material you just replaced, go to the texture reference under misc (as shown in the picture above), and select the texture that was used originally.
4: Then go to the second sub material go to the texture reference box (same spot as above) and type in “shadingB” exactly as shown. (If you’ve named the shadingB texture anything else, type that in instead.)
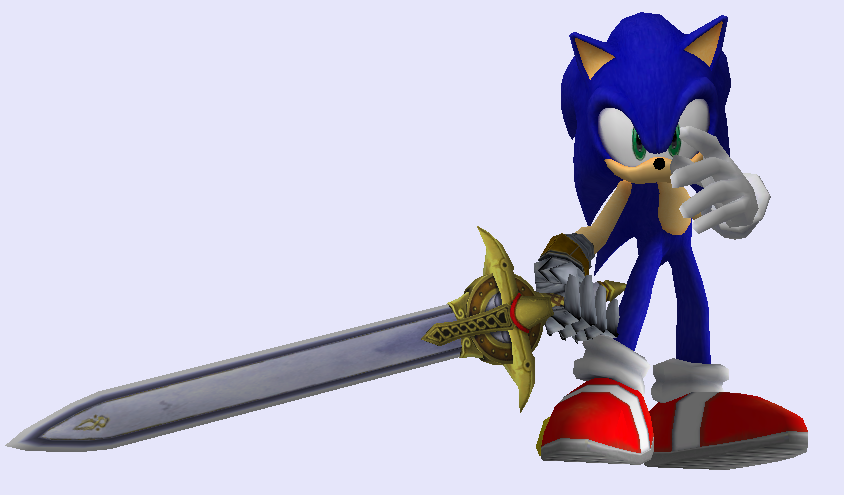
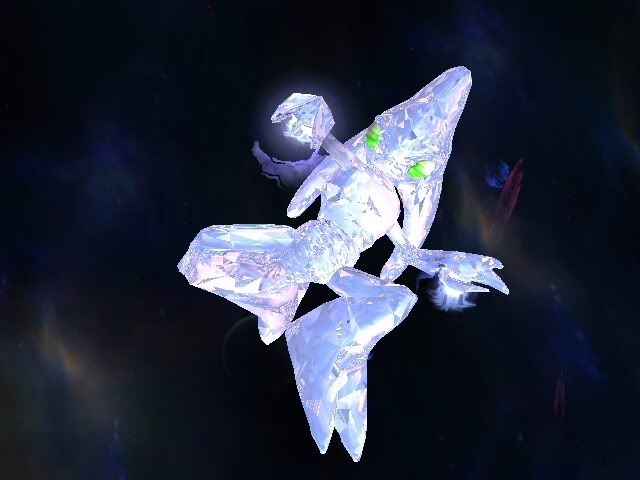
There. Now your model should be Epic and Cell-Shaded. You might have to edit the included gradient (shadingB) to make it look more cell-shaded, but this is the basic concept.
Lastly, you must remember that you might have to experiment with what materials become cell-shaded. It’s not always going to look pretty even if you did it right.
Hopefully it looks nice though.
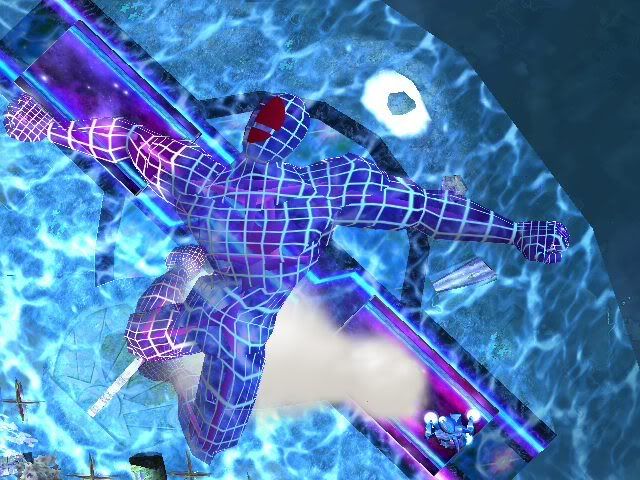
Here's mine:
One final note: If an object isn't single-bound the cell-shading will not follow the camera like metal.
It WILL, however, always react to the light correctly. It doesn't matter what way you are facing, the shadows will always be away from the light.[/s]
EDIT: If you imported everything with Forced Floats, it should work fine.
So, that should be it. Ask me questions! Also, this is my first tutorial, so tell me how I did!
At the suggestion of Sorceress, I'm opening up a little modeling place of my own. Next to Beyond's awesome max swag Model Cartel, it doesn't amount to much, but it'll do.
So yeah. Enjoy the previews. Links to the BrawlVault Downloads are in the spoilers.
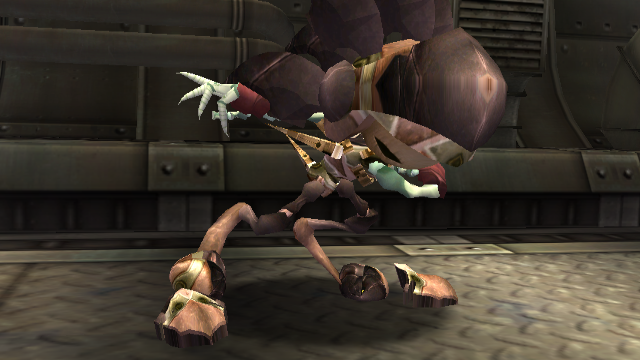
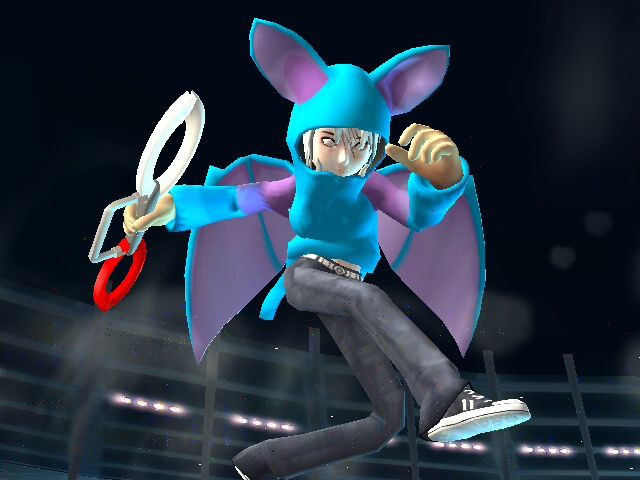
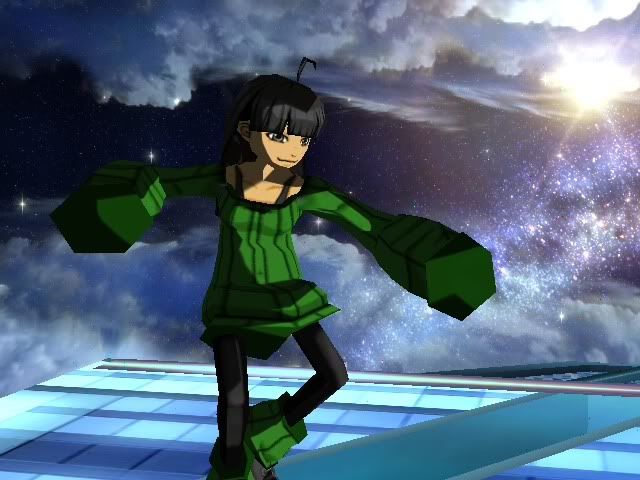
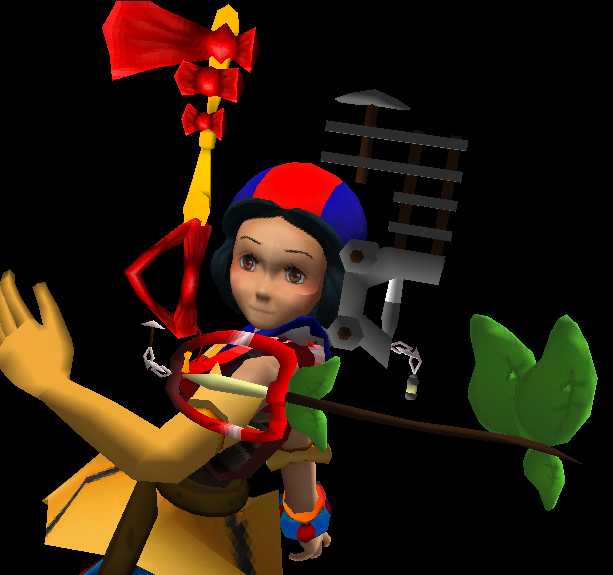
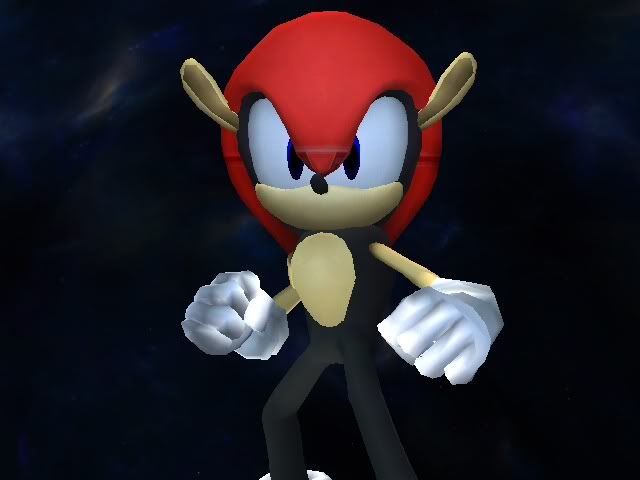
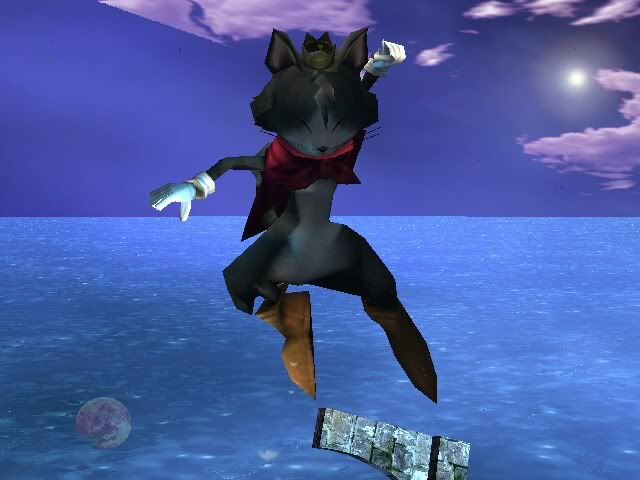
So, I decided to clear out my request Queue. This one's for Lithium
Now, I'm not much a Digimon fan, but requests are requests. This one's name is Graymon, and that's all I know about him.
This model wasn't really meant to move that much originally, along with the fact that the original model doesn't really fit Bowser all that easily either. So this one's heavily modified (as usual.)
It comes with working Shaders, Metal support, Final Smash Eyes, and a Shell that works like Bowser's does.
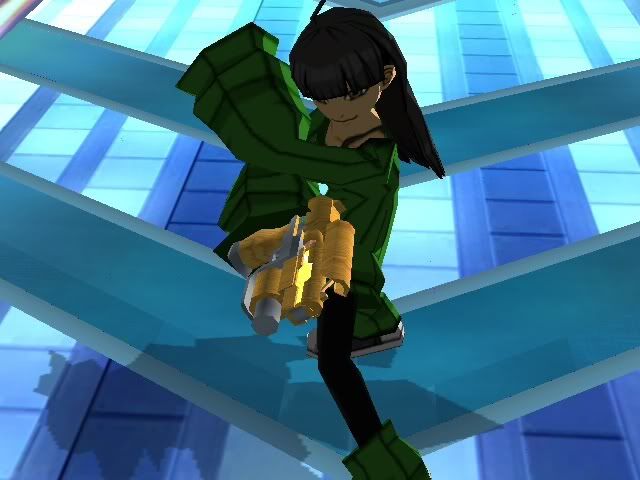
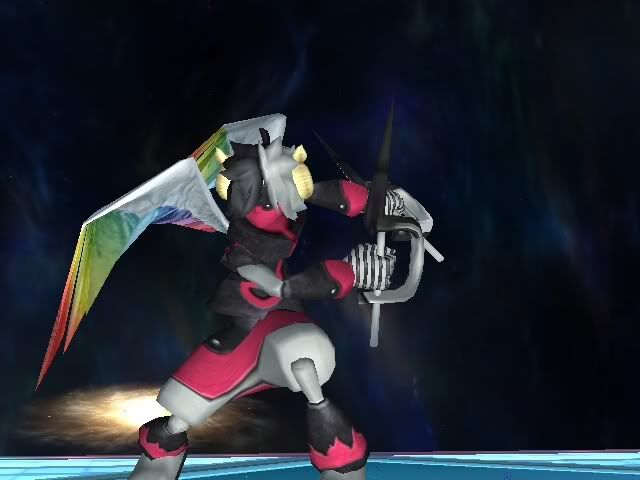
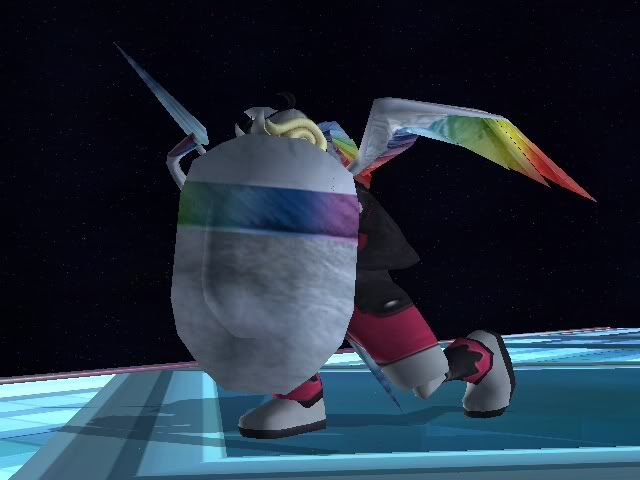
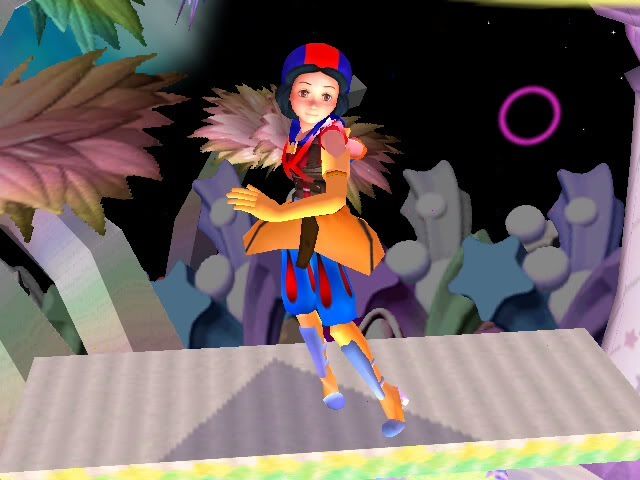
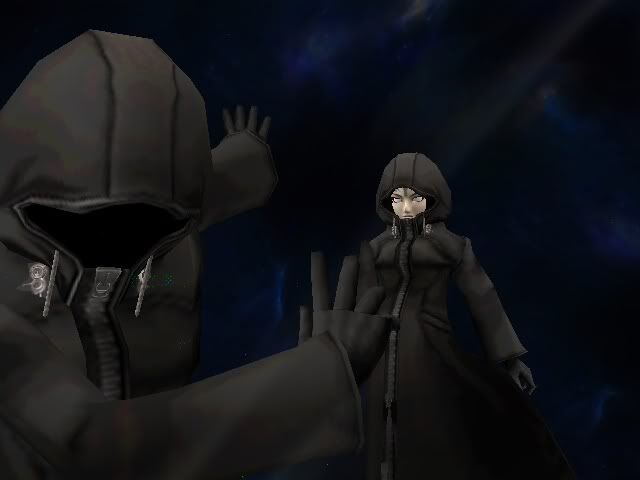
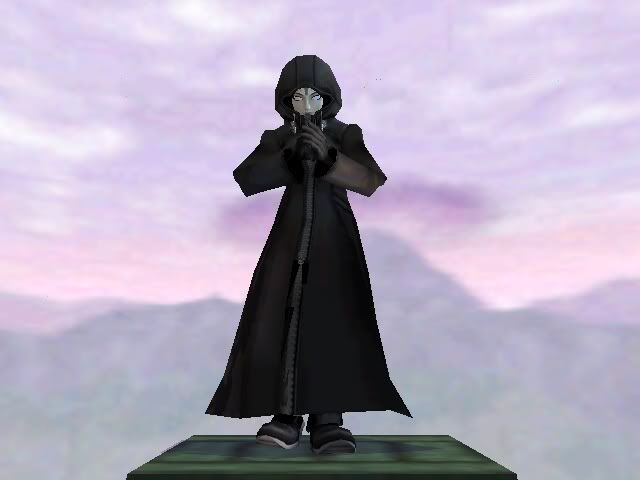
So yeah. If the World of the Trophies was within the universe of Kingdom Hearts, a Nobody for Zelda could have been made when she became the Twilight Puppet.
......
Yeah, bad fanfiction aside,
if the model is over Zelda, why not have a Zelda version?